Quick take
We break down who this device is best for, what it measures, and how it compares in the market.
Key Takeaways
- Proper CPAP machine setup is essential for sleep apnea therapy and comfort at home.
- Step-by-step installation reduces common errors and maximizes device performance.
- Routine cleaning and maintenance protect your equipment and therapy outcomes.
- Monitoring your device's data lets you track progress and collaborate with your care team.
Introduction: Why Proper CPAP Machine Setup Matters
For anyone beginning CPAP therapy, the first night with your device often brings a mix of anticipation and uncertainty. The right setup can be the difference between restful sleep and a frustrating experience. Clear, reliable first time CPAP setup instructions help you avoid common pitfalls and set the stage for successful home therapy.
The Importance of Home CPAP Machine Installation Steps
CPAP machines are medical devices regulated for safety and effectiveness (FDA). Following precise CPAP machine installation steps ensures you receive the benefits of therapy while minimizing discomfort and device issues.
Who Should Use This First Time CPAP Setup Guide
This guide is tailored to new users unboxing their first CPAP or APAP unit at home—especially those without in-person setup support. If you’ve recently received a prescription or are transitioning from a clinic to home use, these steps will help you get started with confidence.
Unboxing Your CPAP Machine: What to Expect in the Package
Checklist: Standard Components and Accessories
- CPAP/APAP main device unit
- Power supply and cord
- Flexible tubing
- Humidifier chamber (pre-installed or separate)
- Nasal mask or interface (often purchased separately)
- Instruction manual and warranty information
Unpack everything and lay it out on a clean, flat surface. Check for visible damage and confirm all parts are present before proceeding.
Verifying Your Prescription and Required Documents
CPAP and APAP machines require a valid prescription, which should be included with your shipment or already sent to the supplier (as Wellue, for instance, requires). Double-check that your pressure settings and any special instructions are clearly documented.
Step 1: Assembling Your CPAP Machine and Accessories
Connecting the Power Supply and Main Unit
Plug the power cord securely into the CPAP device and then into a wall outlet. Avoid extension cords for safety and reliability.
Attaching the Tubing and Humidifier Chamber
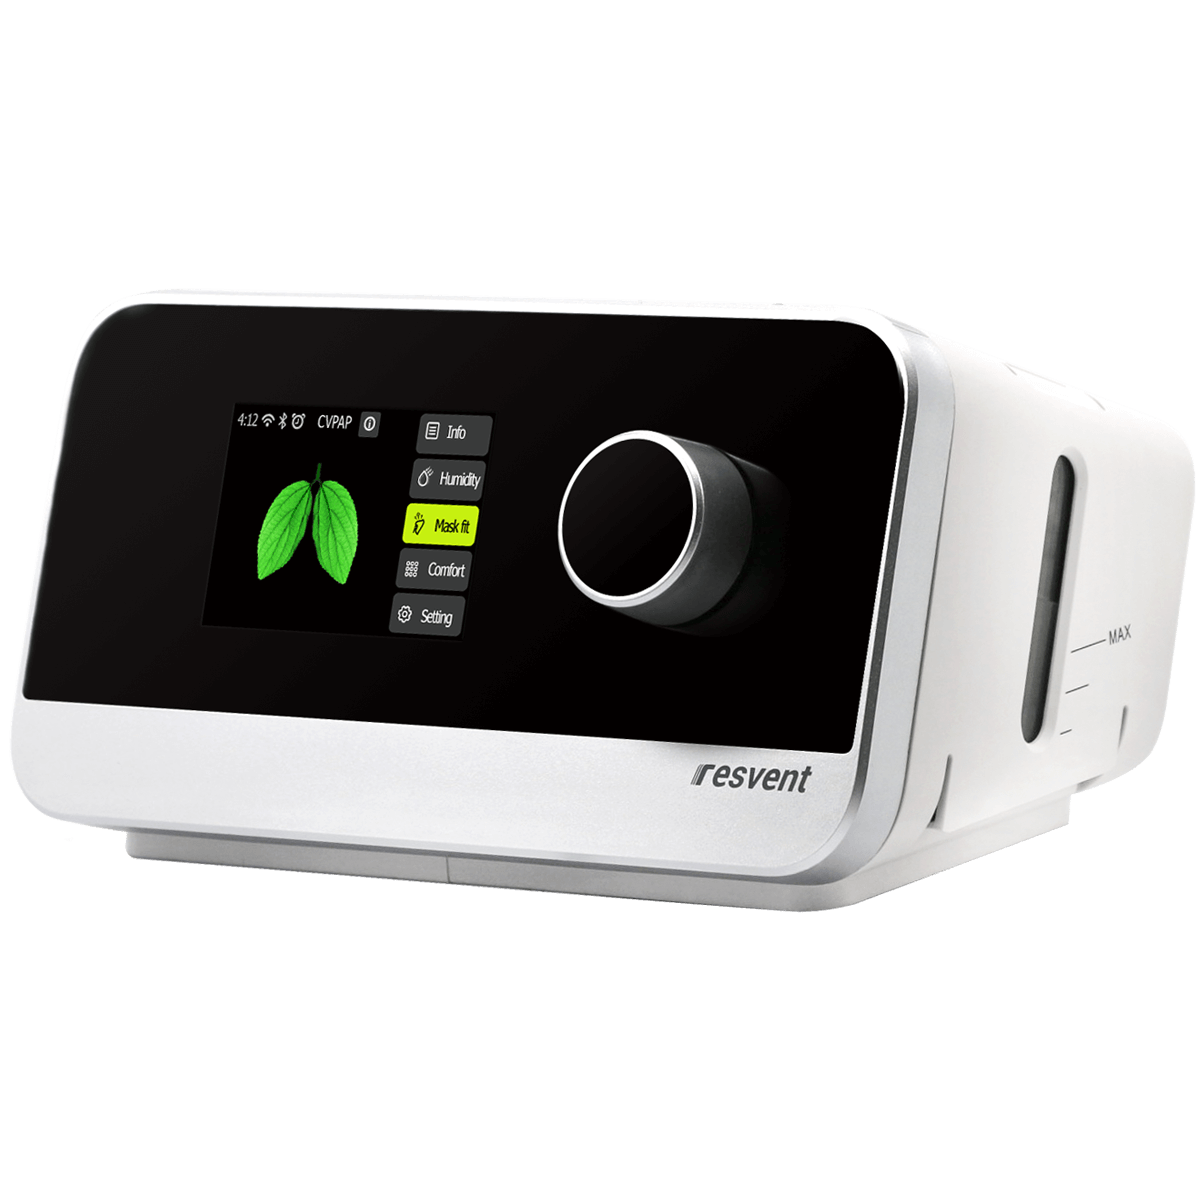
Most modern units, such as the Auto-CPAP / APAP Machine, use a simple push-fit connection for tubing. Insert one end of the tubing into the device’s air outlet, and the other into the mask elbow. If your device features a removable humidifier, fill it with distilled water up to the indicated line and seat it firmly in the device.
Selecting and Connecting Your Nasal Mask
Choose the prescribed nasal mask and connect it to the tubing. Adjust the headgear for a snug but comfortable fit, ensuring there are no air leaks around the mask cushion.
Step 2: Placing and Positioning Your CPAP Machine Safely
Choosing the Right Spot for Effective Overnight Oxygen Monitoring
Set your machine on a flat, stable surface near your bedside, ideally level with or slightly below your sleeping position. Keep the device clear of curtains and bedding to prevent airflow obstruction.
Ensuring Proper Airflow and Reducing Noise
Leave space around air intake vents. A solid nightstand or shelf works well. Position the device so tubing can reach you comfortably without pulling or kinking, which can disrupt therapy or cause leaks.
Step 3: Initial Device Configuration and Settings
Understanding Prescribed Pressure and Flexible Pressure Options
Set your device to the pressure prescribed by your provider. Many devices, such as the iBreeze series, offer auto-adjusting (APAP) modes and flexible pressure relief features—these automatically adapt therapy pressure to your breathing needs throughout the night, increasing comfort for many users.
Adjusting Ramp Settings for Comfortable Sleep Therapy
Ramp settings gradually increase pressure as you fall asleep, making therapy feel less intrusive. Set the ramp time according to your comfort; most users start with 10–20 minutes.
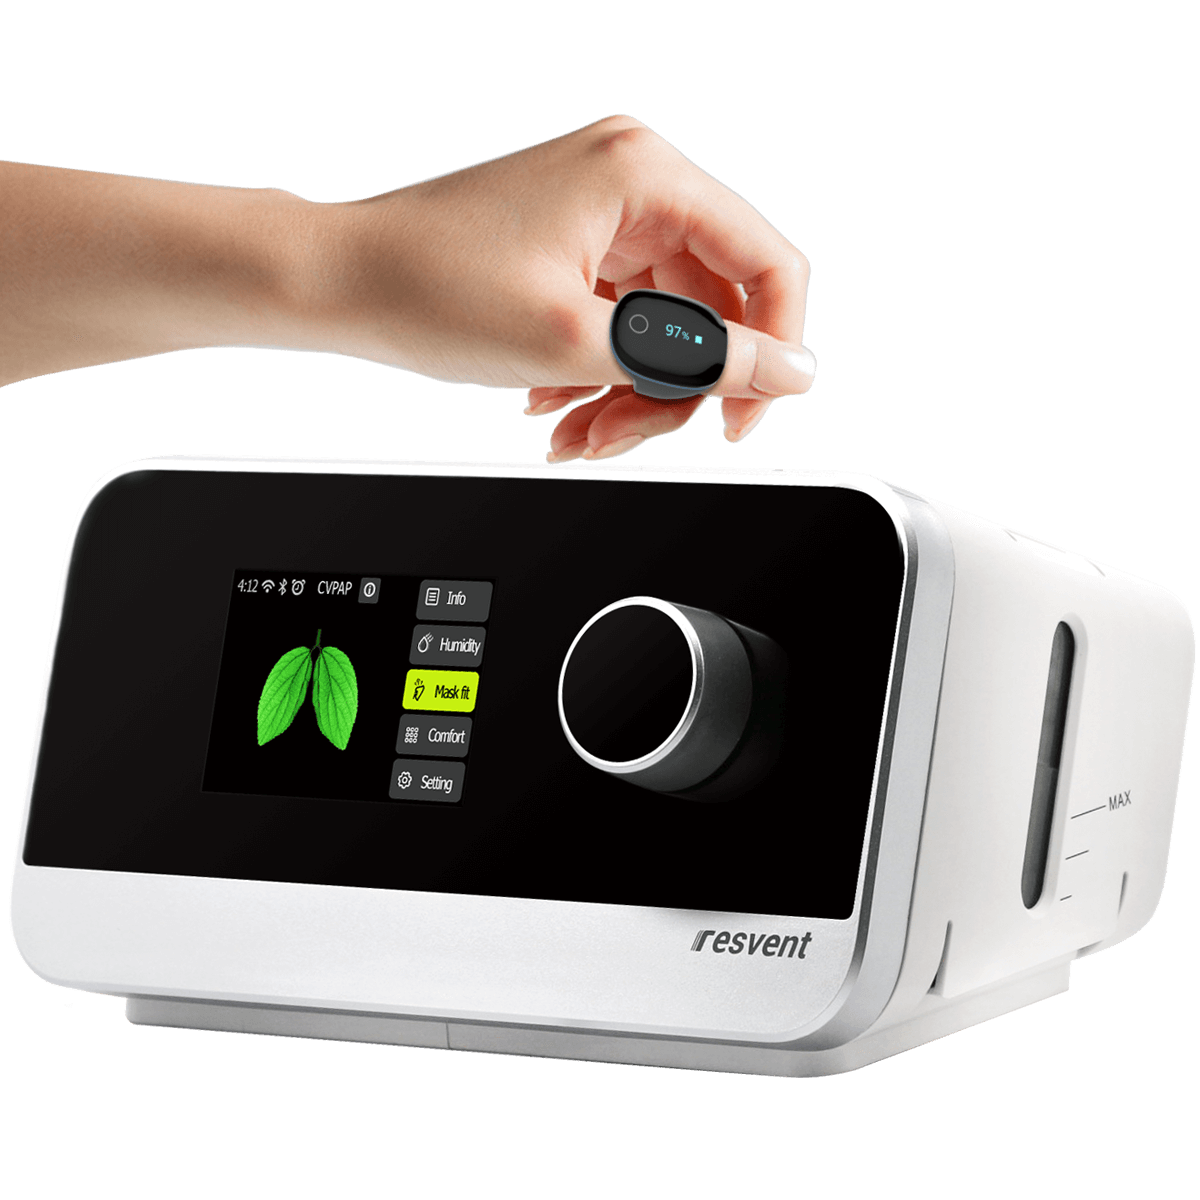
Setting Up Integrated Features (e.g., O2Ring Oxygen Monitor, if applicable)
If your device includes an integrated oxygen monitor, such as the O2Ring accessory, follow the manufacturer's instructions to pair and wear it correctly. This feature enables overnight oxygen monitoring for additional insight into your sleep quality.
Step 4: First Night—CPAP Therapy Preparation and Checklist
Prepping Your Device and Mask for Use
- Fill humidifier with distilled water (if applicable).
- Double-check all connections and mask fit.
- Power on the device, ensuring airflow is steady and comfortable.
Tips for First-Time Users: Comfort and Troubleshooting
Expect some initial adjustment. If you notice air leaks, gently re-seat your mask or adjust the straps. If you experience discomfort or dryness, try adjusting the humidifier setting or ramp time. Give yourself time to acclimate; short daytime sessions can help.
Monitoring Sleep Quality With CPAP Data Reports
Most modern machines store therapy data accessible via device screen or app. Reviewing your usage, leak rates, and apnea events helps you and your provider assess therapy effectiveness. For more on interpreting these reports, see our guide to reading device reports.
Ongoing CPAP Maintenance and Cleaning Essentials
Daily and Weekly Cleaning Routines
- Daily: Empty and rinse humidifier; wipe mask cushion.
- Weekly: Wash tubing, mask, and humidifier chamber with mild soap and warm water; air dry completely.
Checking for Wear and Tear
Inspect seals, tubing, and headgear for cracks or stretching. Replace as recommended by your supplier or if you notice deterioration.
Maintaining Optimal CPAP Performance
Regular cleaning and timely replacement of consumables support consistent therapy and device longevity. Refer to your user manual for specific guidance.
When to Seek Help: Recognizing Setup and Therapy Issues
Common Problems During Initial CPAP Installation
Common issues include air leaks, unusual noise, or difficulty tolerating pressure. If troubleshooting steps don’t resolve the problem, consult your supplier or device support line.
When to Contact a Healthcare Provider or Device Support
If you experience persistent discomfort, significant mask leaks, or suspect your therapy isn’t effective, reach out to your provider. Never adjust prescribed pressure settings without professional guidance.
Who This Is For
This guide is for adults beginning prescribed sleep therapy at home, especially those who prefer step-by-step instructions and want to avoid the most common setup errors. If you're unsure about any part of the setup, start with the basics above and reach out to your equipment provider or healthcare team—they are your partners in this process.
Conclusion: Building Confidence in Your CPAP Routine
Getting your CPAP machine set up right the first time builds the foundation for successful sleep therapy and lasting comfort. Don’t rush; take the time to familiarize yourself with each component and setting. The Auto-CPAP / APAP Machine is a strong starting point for most users, offering intuitive setup and reliable performance. For those seeking detailed overnight oxygen data, consider pairing your unit with the O2Ring accessory. Remember, small adjustments and consistent maintenance make all the difference in your long-term therapy journey.